In an internal poll, ten out of ten 219ers strongly believe that custom tracked objects can enhance the sense of presence within a virtual reality experience. Tracked objects aren’t limited to gaming accessories. If the user’s VR experience would be enriched by the ability to hold and interact with a physical object (a medical device, a consumer product, etc.) in “real reality,” that object must be tracked.
We feel that the HTC Vive system is the best COTS option for room scale VR right now and we were excited when Steam opened up their Hardware Development Kit (HDK) a few weeks ago. If you want to develop custom tracked objects, the seminar put on by Synapse (a $3k+ investment) will be critical to your success. Since 219 Design believes that VR will become an important component of our service offering in the upcoming years, we jumped on the opportunity to add another tool to our tool belt.
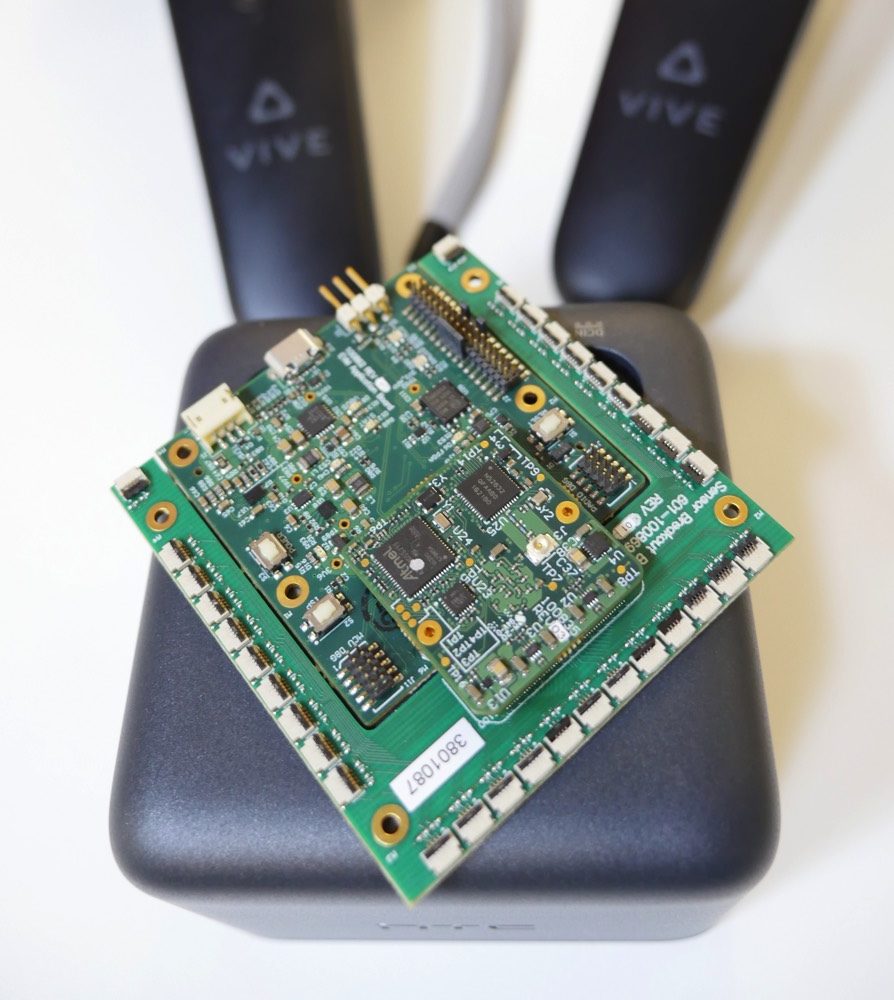
Just last month, we traveled to Seattle to attend a training seminar and get access to the SteamVR Tracking HDK. The HDK allows us to build a trackable device within the SteamVR tracking system. Over the span of four days, we gained the tools and knowledge to use tracking in our own products and prototypes. Here’s a little preview of what we learned…
What is SteamVR Tracking?
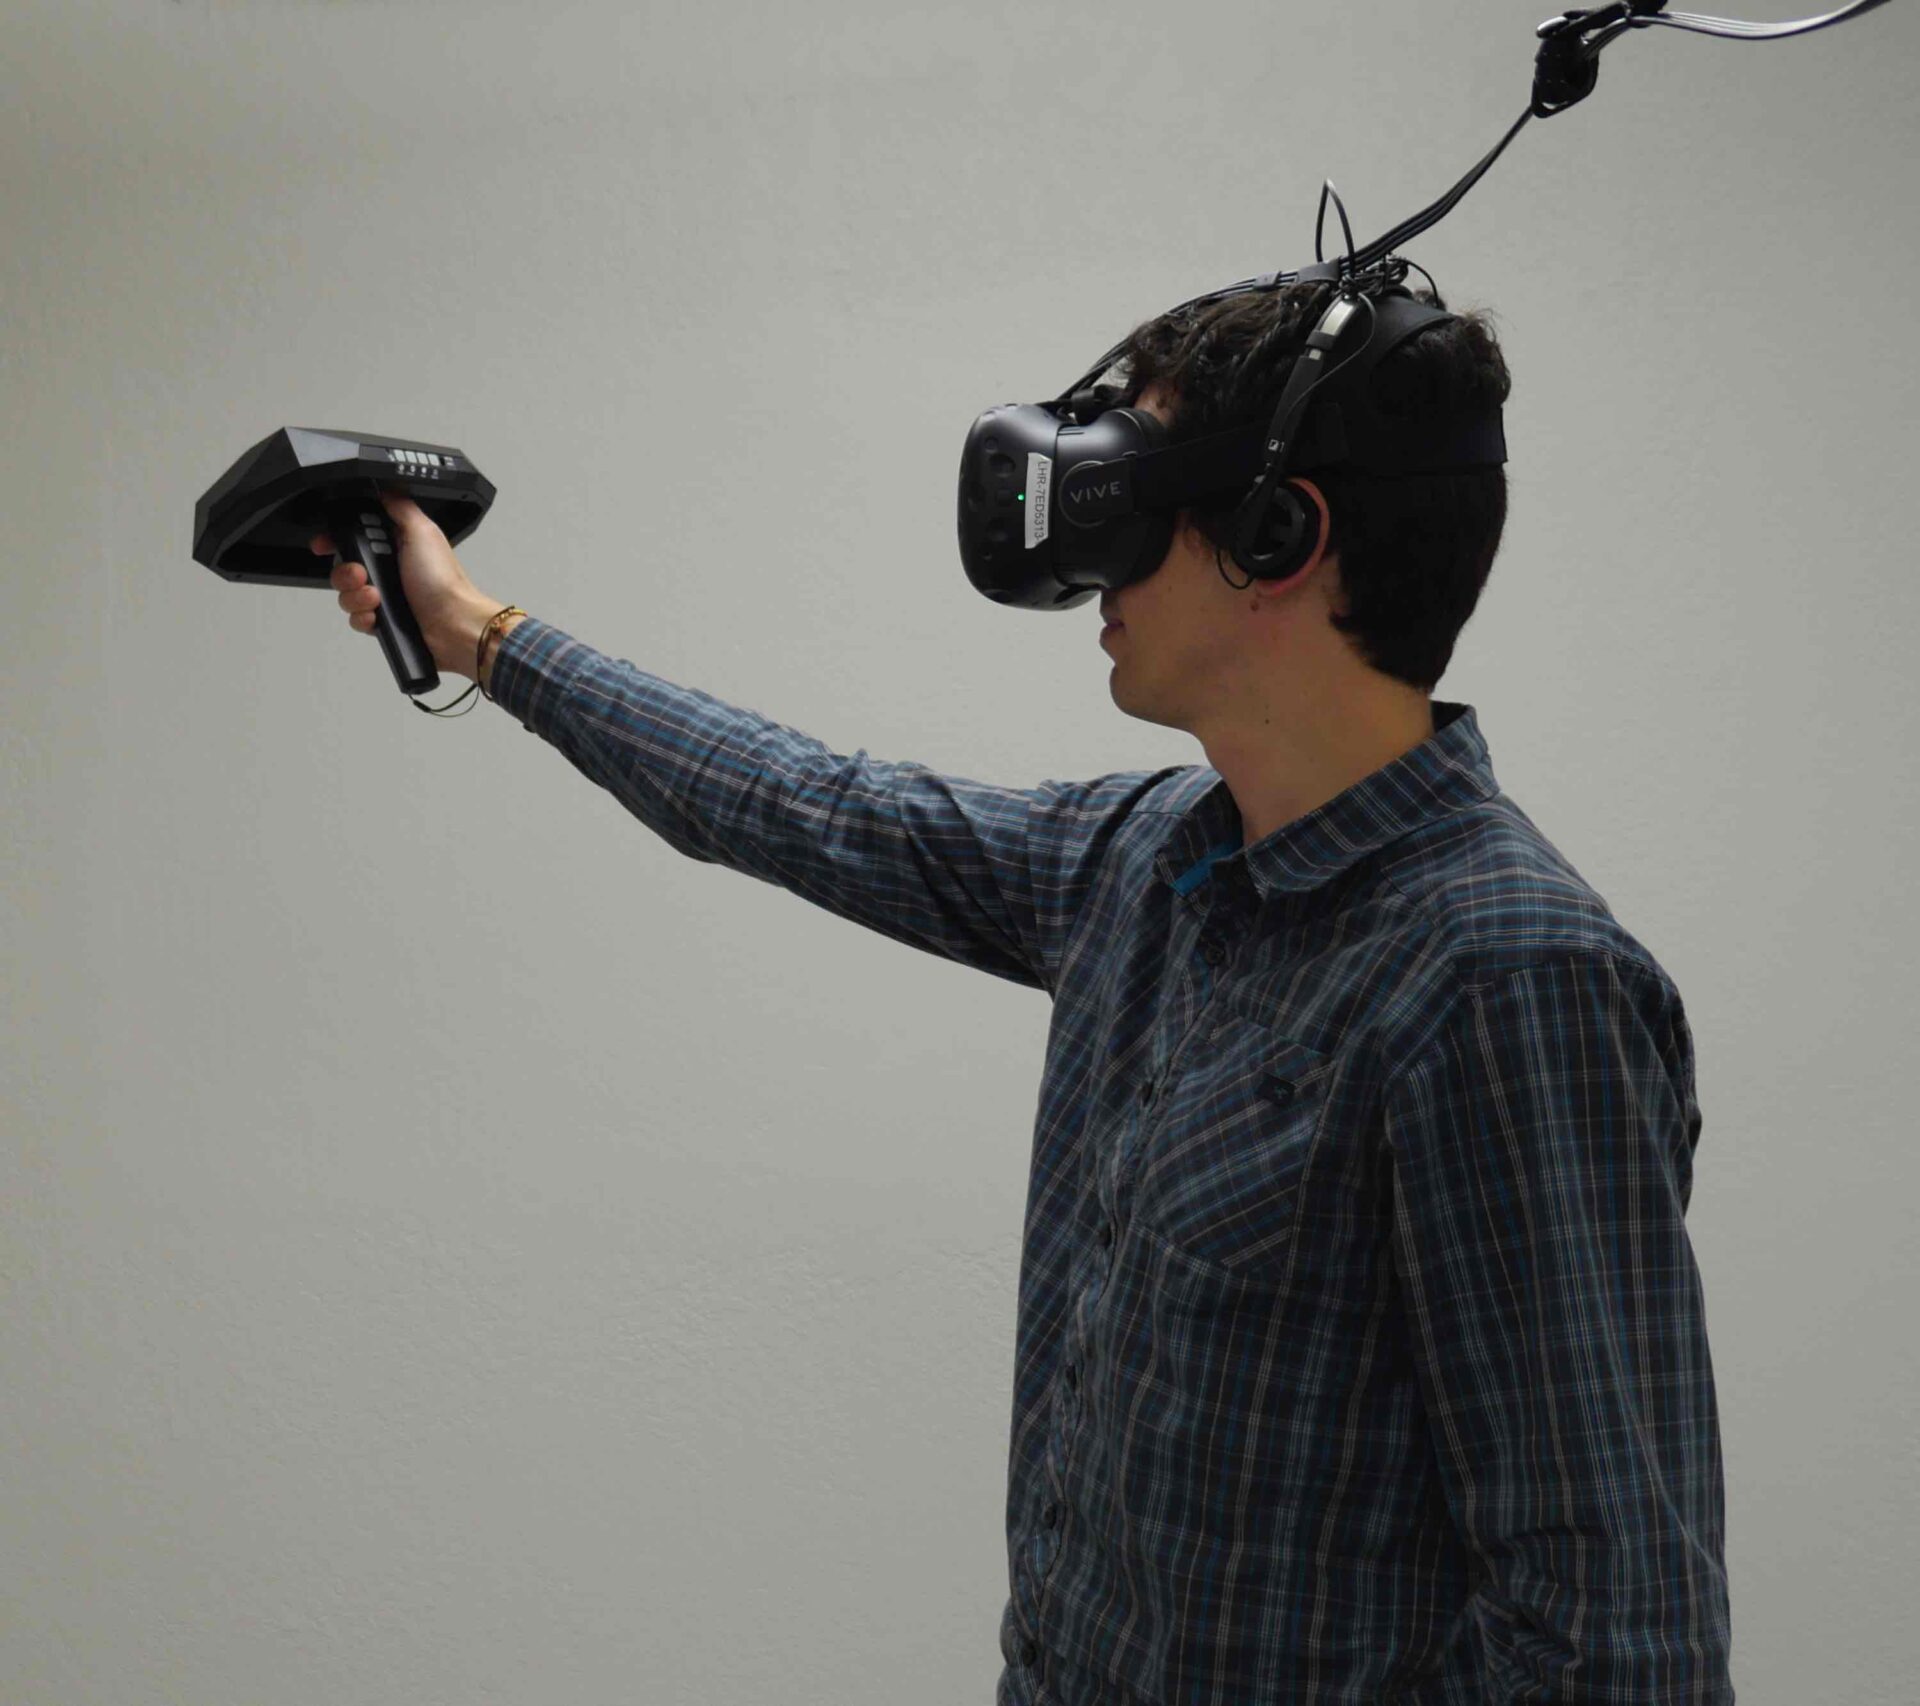
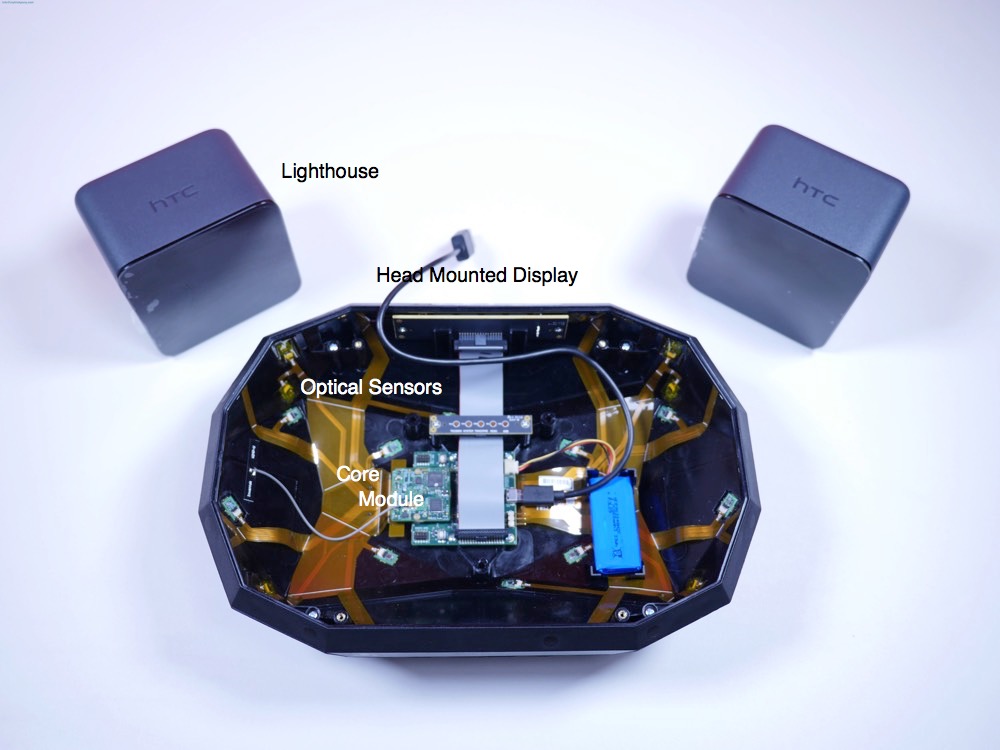
Developed by Valve, SteamVR Tracking allows you to track the position of objects in a room in real-time with sub-millimeter accuracy at update rates up to 1 kHz. The tracking system consists of two base stations (aka “lighthouses”) and one or more tracked objects. Each tracked object has multiple optical sensors and an IMU.
The lighthouses sweep an IR laser around the room, recording the laser angle and time. The tracked object records when the laser is detected by each sensor. That information, along with the tracked object’s geometry, is used to determine its orientation and position within 3D space. The IMU’s primary purpose is to reduce jitter and help with occlusions.
Key Learnings from the Training
The seminar, run by Synapse Product Development, did a nice job of equipping 219 Design and the other attendees with everything required to design a trackable object. Here are a few of our key takeaways:
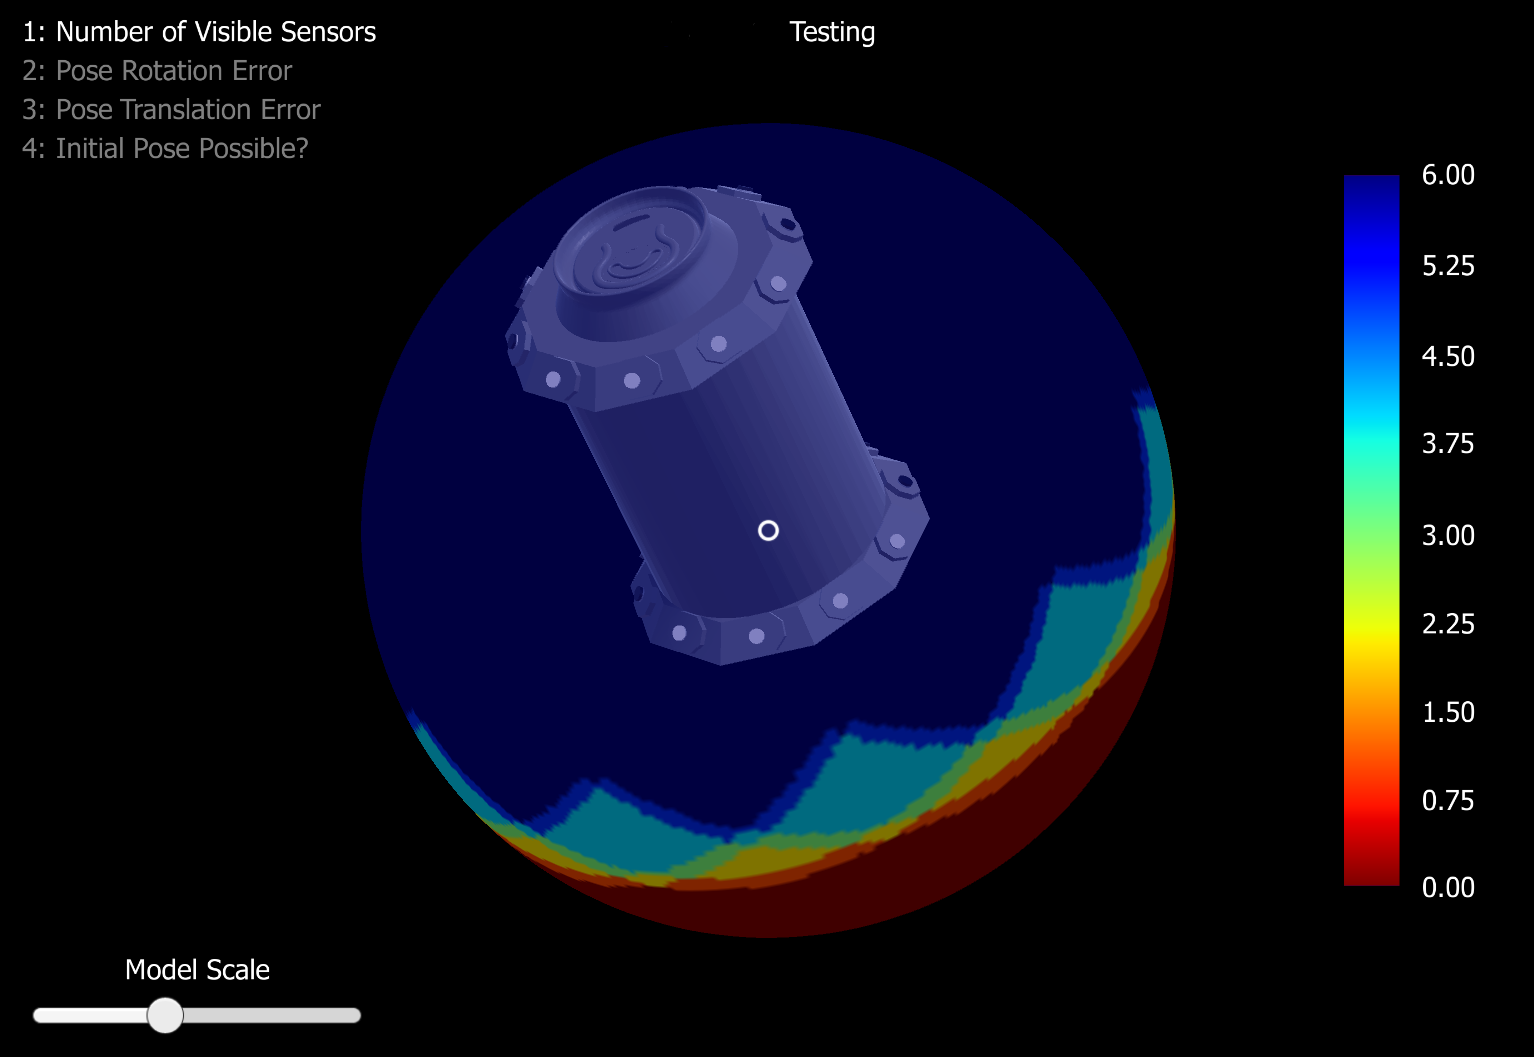
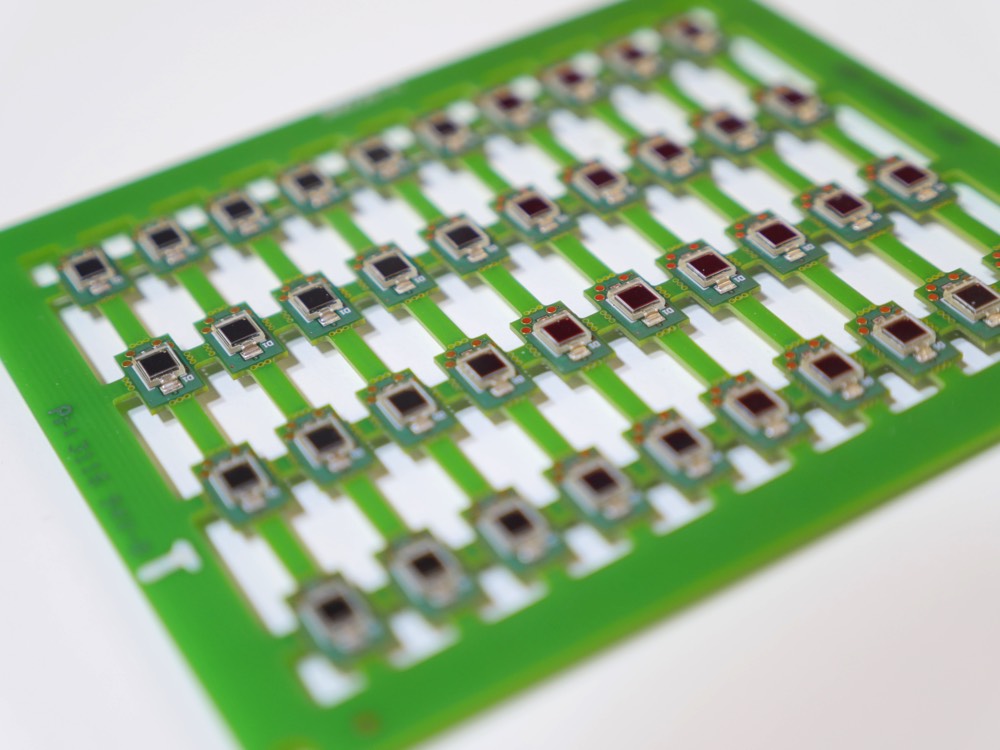
Part Design and Sensor Placement is Critical
|
You Must Store Your Calibration
|
You Can Customize the Board Design
|
Debugging Tips Save Time
If your device doesn’t track properly, there are a few nice tools that you can use to figure out what’s going on:
|
What’s Next for 219 Design?
We are already designing custom tracked objects! We have started working on a device that uses VR tracking for a very exciting, but confidential client. And, we’re having some fun kicking around ideas like a tracked beer koozie so you never lose your drink while you’re in VR again.
We’re looking forward to working on more VR-related projects in the near future. This class has made it clear that our interdisciplinary way of doing things makes us a great fit for this kind of work. Our in-house staff of software and firmware developers, mechanical and electronic engineers, and product and user interface designers work together to provide better outcomes for our clients.
If you have a project that could benefit from SteamVR Tracking, you can reach us at getstarted@219design.com.
Read more about 219 Design’s experiments in VR on our News page and here.